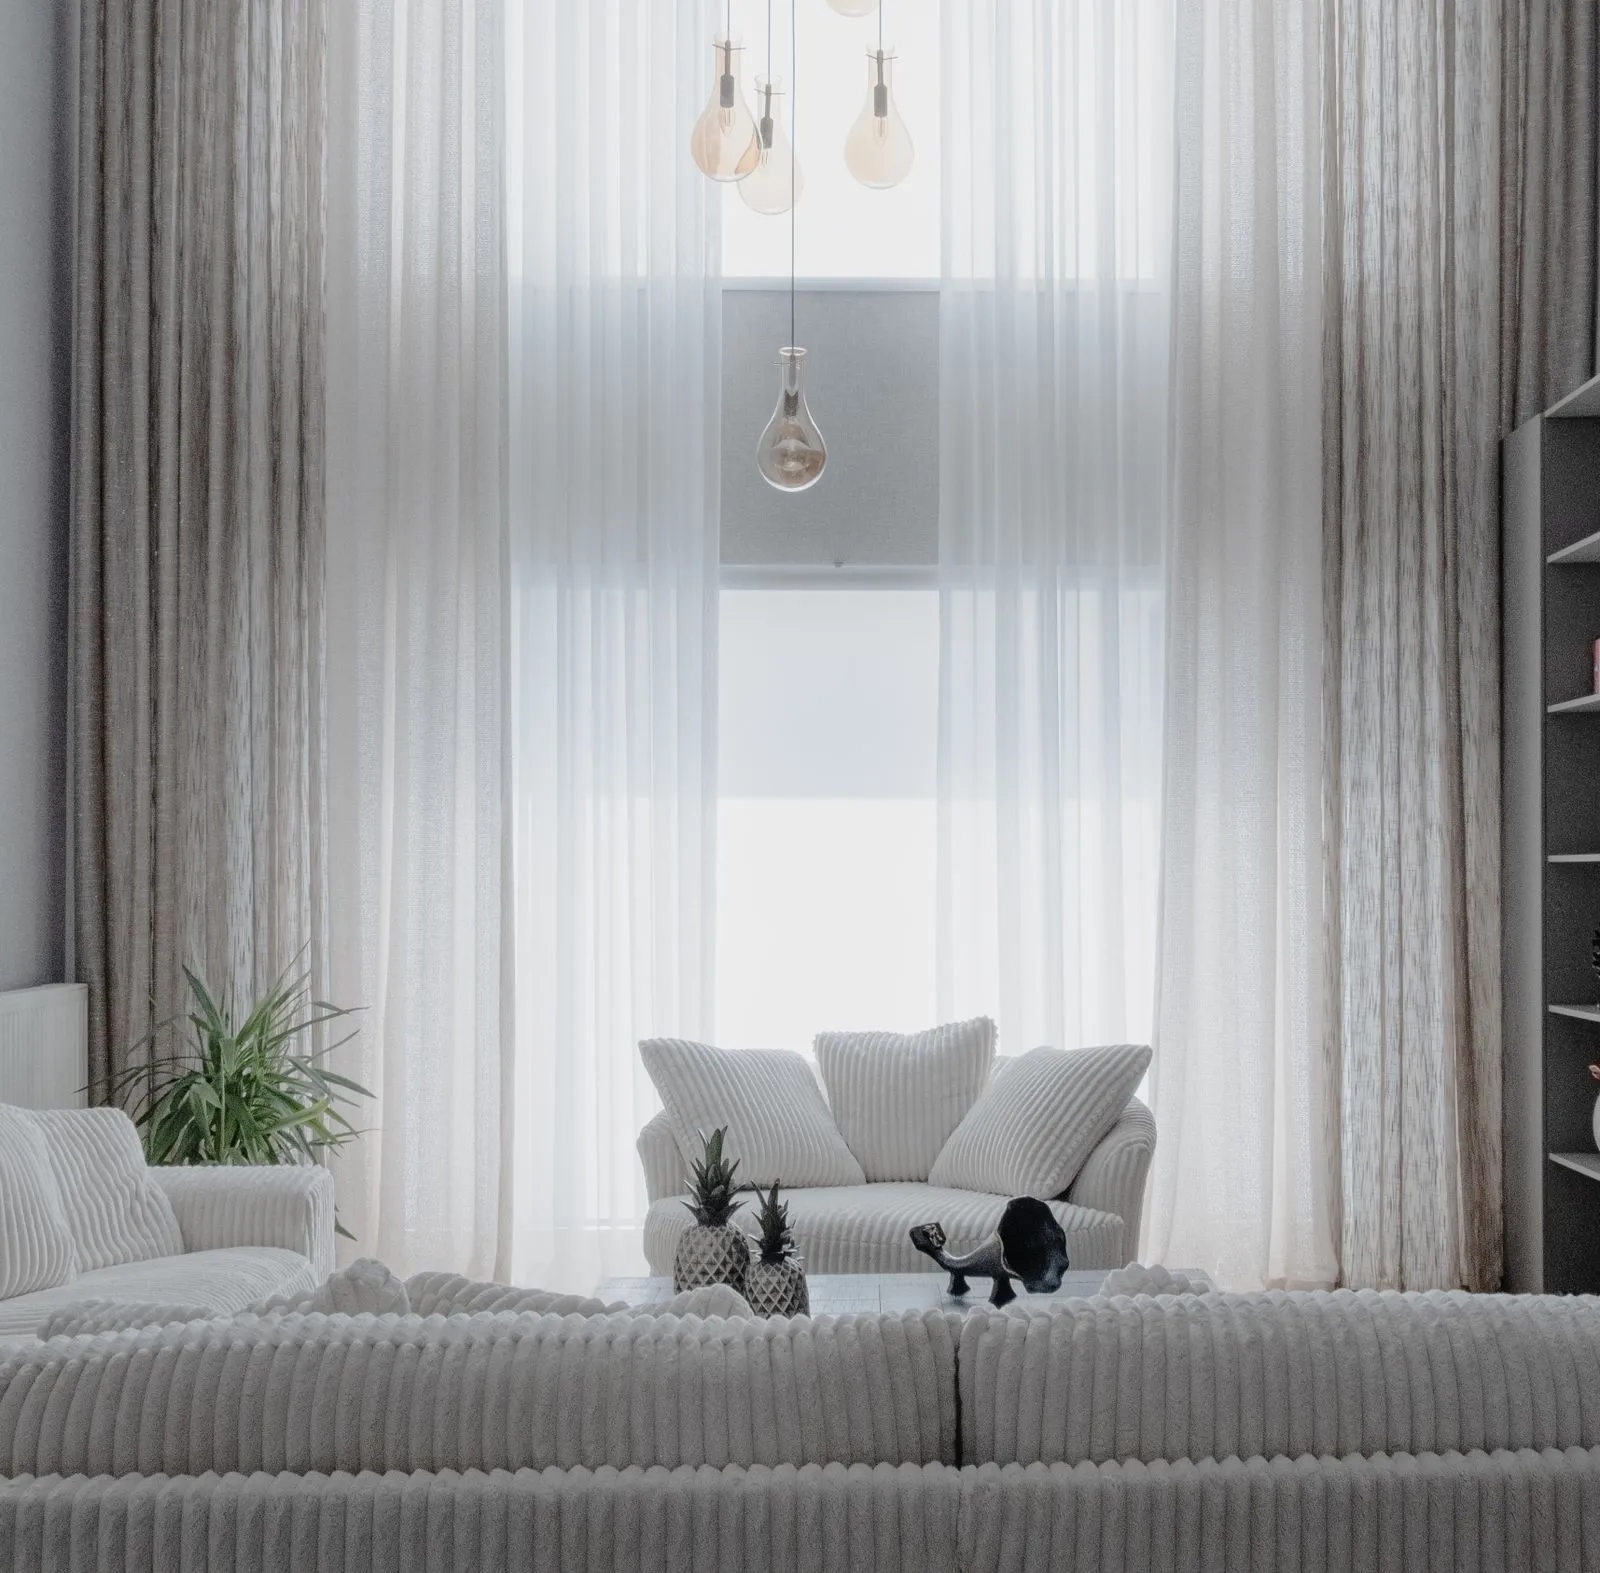
Online, buyers can’t wander from the entry to the kitchen or peek into the backyard. They rely on listing photos to get their bearings and decide whether a home deserves a closer look. Clear, well-composed images do more than make rooms look inviting: they help viewers understand where spaces sit, how they connect, and what details make the property distinctive. A thoughtful photo sequence turns browsing into a more useful first tour, setting realistic expectations before anyone books a showing.
Show How Rooms Connect
A single attractive room photo can raise questions: Where does the hallway lead? Is the dining area beside the kitchen or across the house? Images taken from useful vantage points can answer those questions. A view from a doorway, for example, may show the relationship between a living room and an adjoining dining space without distorting either room.
A listing’s photo order also helps tell the story of the floor plan. Start with a recognizable entry or main living area, then move through connected spaces in a sequence that makes sense. Include transitions where they clarify the route. Buyers can follow the home more easily when the gallery feels like a guided walk rather than a jumble of unrelated rooms.
Give Each Room Context
Wide views can show a room’s proportions and how furniture fits, but an ultra-wide angle may make walls look farther apart than they are. Keep vertical lines straight and choose a position that captures the room without exaggerating its size. A balanced image helps buyers form a more dependable sense of scale.
Photograph a room from angles that reveal its purpose and connection to nearby spaces. In a bedroom, that might mean showing the door, closet, or window along with enough floor area to understand the layout. In a kitchen, a view that includes the work area and nearby dining space can explain how people might use the room.
Make Features Easy to Notice
Distinctive details can be easy to miss in a crowded frame. Give meaningful features room in the composition: a fireplace, built-in shelving, an updated backsplash, or a view from the windows. Use a separate close-up when a material or finish needs a clearer look, while keeping enough surrounding context to show where it belongs.
Natural-looking light and careful preparation help those details read clearly on screen. Open window coverings when appropriate, switch on interior lights, and remove small distractions from counters and surfaces. Straighten bedding and chairs, and tidy cords or bins. Simple preparation keeps attention on what buyers came to see instead of on visual clutter.
Create A More Useful First Tour
A strong gallery balances inviting images with practical coverage. Include the main rooms, transitions, exterior views, and useful features, while avoiding several nearly identical shots. If a home has a basement, unusual room arrangement, or separate outdoor area, make those spaces easy to identify so buyers don’t have to guess how they fit into the property.
Review the photos as a sequence before publishing. Ask whether a first-time viewer can tell where the main living areas are, how the rooms relate, and which features deserve attention. If the answers are unclear, adjust the order or add a view that fills the gap. Sagebrush Frames helps Reno-area sellers present homes with images designed to support a clear online walkthrough.
Well-planned listing photos help buyers do more than admire a home—they help them understand it. Show connected spaces in a logical order, keep proportions believable, and give important features a clear view. That practical visual tour can make an online listing more informative. When you’re ready to prepare a Reno home for its photo session, consider reaching out to a local real estate photographer.